Aws S3 Bucket Photo Upload React Js

Mega Bundle Auction is ON! Go ALL of our React Native codebases at 80% OFF disbelieve 🔥
In this tutorial nosotros will build a React Native app that allows users to upload images and videos from their camera and photograph library direct into a AWS S3 saucepan. Every bit AWS is the leader of deject providers, a huge office of the React Native ecosystem is using AWS as the backend for their app. With the release of AWS Dilate, using AWS as backend for a React Native app has never been easier to implement.
The app nosotros are going to build in this React Native AWS tutorial volition upload and store paradigm and video files using Amazon S3 saucepan. In this article, nosotros volition teach you how image and video storage works in React Native using AWS S3 bucket. Every unmarried step of the implementation will be detailed and no stones will be left unturned. So permit us get into it.
For those who are non familiar with AWS S3 buckets already, here'south is the formal definition of Amazon S3 and what a bucket is:
Amazon S3 stores data as objects inside buckets . An object consists of a file and optionally whatever metadata that describes that file. To store an object in Amazon S3, you upload the file yous want to store to a saucepan. When you upload a file, you can set permissions on the object and any metadata.
1. Creating the React Native Project
Open a new Terminal instance, and run the following
react-native init s3bucket_storage_example
And then we install and configure the required dependencies, using yarn:
yarn add react-native-image-picker react-native-video @react-native-community/netinfo @react-native-async-storage/async-storage
or using npm:
npm install react-native-prototype-picker react-native-video @react-native-community/netinfo @react-native-async-storage/async-storage -Due south
For iOS you too need to install the pods by running
cd ios && pod install
And so add the following snippet to your ios/<projectName>/Info.plist to asking Photo Library permissions.
<central>NSPhotoLibraryUsageDescription</key> <string>$(PRODUCT_NAME) would like access to your photo gallery.</string>
two. Picking Photos & Videos from Photo Library
Our first task here is to fetch an image or video from the user'south photo library. In lodge to accomplish that, we are going to leveragereact-native-image-picker to pick media files from the library. To be able to display and play videos, we are also going to use the npm packagereact-native-video. At present, let's replace all yourApp.js file with the following source code:
import React, {useState} from 'react'; import { View, Text, TouchableOpacity, StyleSheet, Alert, Prototype, } from 'react-native'; import {launchImageLibrary} from 'react-native-paradigm-picker'; import Video from 'react-native-video'; function S3StorageUpload() { const [nugget, setAsset] = useState(null); const selectFile = async () => { look launchImageLibrary({mediaType: 'mixed'}, issue => { if (!result.assets) { Alert.alert(result.errorMessage); return; } setAsset(result.avails[0]); }); }; return ( <View way={styles.container}> <TouchableOpacity onPress={selectFile}> <Text style={styles.button}>SELECT {asset ? 'Another' : ''} FILE</Text> </TouchableOpacity> {asset ? ( nugget.blazon.split('/')[0] === 'image' ? ( <Image style={styles.selectedImage} source={{uri: nugget?.uri ?? ''}} /> ) : ( <Video style={styles.selectedImage} source={{uri: asset?.uri ?? ''}} /> ) ) : zilch} {asset && ( <> <TouchableOpacity onPress={() => setAsset(null)}> <Text mode={styles.cancelButton}>Remove Selected Epitome</Text> </TouchableOpacity> </> )} </View> ); } const styles = StyleSheet.create({ button: { fontSize: twenty, colour: '#fff', backgroundColor: 'blue', paddingVertical: twenty, paddingHorizontal: 30, marginHorizontal: twenty, marginVertical: ten, textAlign: 'center', fontWeight: 'bold', }, cancelButton: { backgroundColor: '#fff', color: 'blue', }, selectedImage: { width: 175, height: 200, marginTop: twenty, }, container: { flex: 1, justifyContent: 'center', alignItems: 'eye', }, }); export default S3StorageUpload; At present, run your mobile app in your device, simulator or emulator. You will notice that you now are able to pick a photo or a video from your photo library.
3. AWS Amplify Setup
Now that our mobile application UI is pretty much implemented, let'south focus on how to prepare the actual backend storage, and how we can integrate the mobile React Native app to communicate with the AWS backend, securely and effectively.
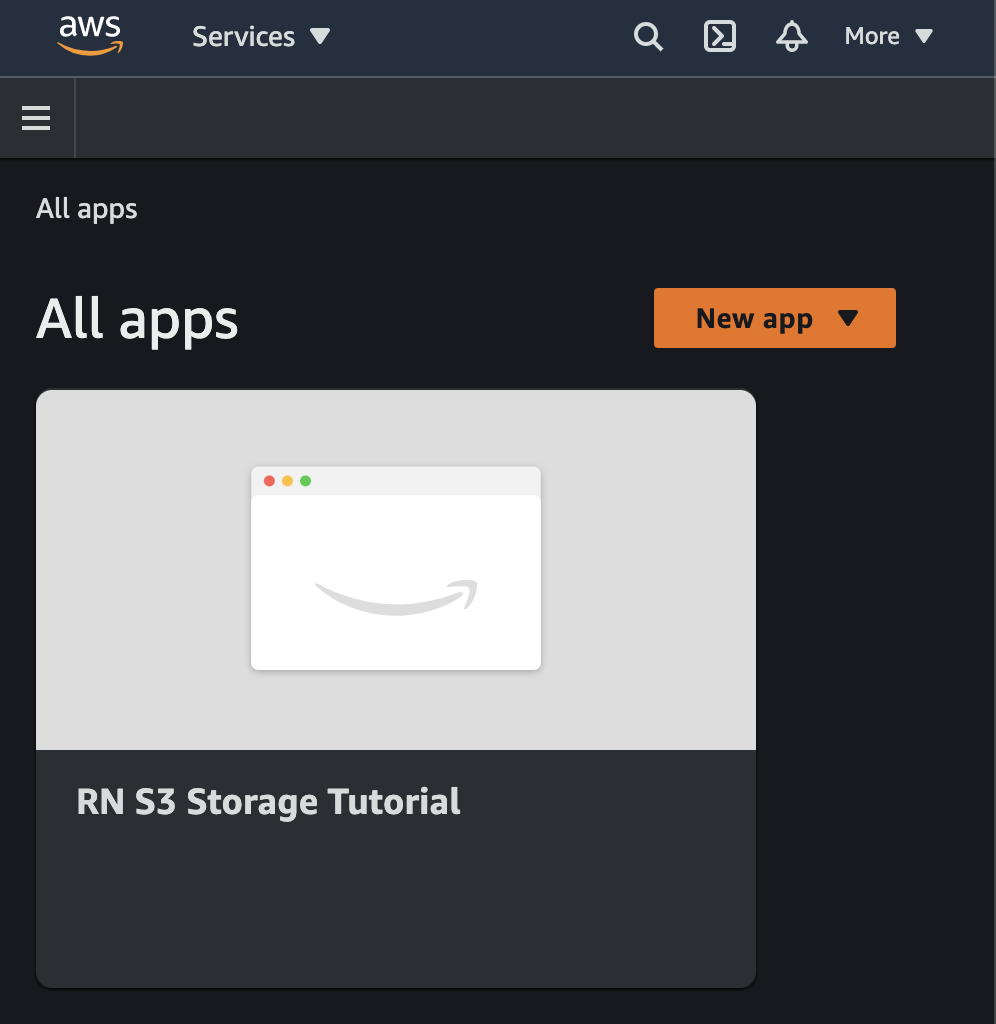
a. Create A New AWS Amplify Project
Caput over to the AWS website and create a new AWS Dilate project.
b. Install the AWS Amplify CLI
Adjacent, nosotros need to install AWS Dilate CLI on our local car by running the following command on your concluding.
npm install -g @aws-amplify/cli
This AWS Dilate CLI will enable the states run AWS commands anywhere on our local machine. For instance, we can update our local AWS configuration by pulling our AWS backend and updating our backend by pushing local configuration changes to the backend.
c. Pull The AWS Amplify Project into the React Native Codebase
Pull your already created Amplify backend projection into your React Native project by running the following command at the root of your React Native project:
amplify pull --appId <appID> --envName <appName>
Note: Please be sure to verify the app login on your Amplify UI Admin, then select your preferred editor, type of app as Javascript, and framework every bit React Native. You need to enter Y when asked if you lot wish to modify the backend. Default entries should be allowed for the remaining prompts.
c. Enable Storage in the AWS Dilate Projection
At the root of your React Native project run amplify add storage to add storage to your backend projection as seen in the below screenshot. Subsequently that is done you should push your new project configurations to the backend past running amplify push.
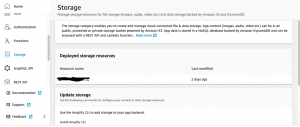
Note: On prompted you should select Content (Images, audio, video, etc.). Adding authentication or functions to your project is not mandatory and every other options can exist left as their default value.
3. Upload Photos & Videos to AWS S3 Bucket in React Native
We've finally reached the core function of this tutorial. And then far, we prepare up the React Native project, the AWS backend project, and nosotros built the integration between these two. We've besides implemented the ability for the users to choice photos from the gallery, so all nosotros demand to do now is get those photos and send them over to the S3 cloud.
a. Install aws-amplify Into the React Native Project
yarn add together aws-amplify
or
npm install aws-amplify -S
b. Then Import AWS Amplify into Your App.js
import Dilate, {Storage} from 'aws-dilate'; and configure your AWS Amplify:
import awsconfig from './src/aws-exports'; Amplify.configure(awsconfig);
c. Add the following two states to the S3StorageUpload
const [progressText, setProgressText] = useState(''); const [isLoading, setisLoading] = useState(false); progressText will be used to display the progress of the upload and isLoading to aid disable our buttons from performing any action while the prototype is getting uploaded.
d. Add the post-obit handler and helper functions
First we have to catechumen our URI to a blobusing fetchResourceFromURI then uploadResource uploads the file using the asset URI as the key.A success callback is passed to retrieve the key of the uploaded file and this key is important because you need information technology to get the URI of the resource URI from the backend.
const fetchResourceFromURI = async uri => { const response = expect fetch(uri); console.log(response); const blob = await response.blob(); return blob; }; const uploadResource = async () => { if (isLoading) return; setisLoading(true); const img = wait fetchResourceFromURI(nugget.uri); return Storage.put(asset.uri, img, { level: 'public', contentType: nugget.type, progressCallback(uploadProgress) { setProgressText( `Progress: ${Math.round( (uploadProgress.loaded / uploadProgress.total) * 100, )} %`, ); panel.log( `Progress: ${uploadProgress.loaded}/${uploadProgress.total}`, ); }, }) .so(res => { setProgressText('Upload Washed: 100%'); setAsset(naught); setisLoading(false); Storage.go(res.key) .so(event => panel.log(result)) .catch(err => { setProgressText('Upload Error'); panel.log(err); }); }) .take hold of(err => { setisLoading(false); setProgressText('Upload Error'); console.log(err); }); }; four. Trigger the File Upload to AWS S3 in React Native
return ( <View style={styles.container}> <TouchableOpacity onPress={selectFile}> <Text style={styles.button}>SELECT {asset ? 'Another' : ''} FILE</Text> </TouchableOpacity> {asset ? ( asset.type.split('/')[0] === 'image' ? ( <Epitome mode={styles.selectedImage} source={{uri: asset?.uri ?? ''}} /> ) : ( <Video fashion={styles.selectedImage} source={{uri: nugget?.uri ?? ''}} /> ) ) : aught} {asset && ( <> <TouchableOpacity onPress={uploadResource}> <Text style={styles.button}>UPLOAD</Text> </TouchableOpacity> <TouchableOpacity onPress={() => setAsset(null)}> <Text fashion={styles.cancelButton}>Remove Selected Image</Text> </TouchableOpacity> </> )} <Text>{progressText}</Text> </View> ); In the above snippet nosotros edit and update the UI by adding a button to trigger the uploadResource function. Here's a snippet short clip showing how this works.
5. Deleting a File from AWS S3 Bucket in React Native
Deleting a file is straightforward and can be done past a single function phone call that takes the file cardinalequally a required parameters and an optional parameter protectedLevel that specifies the File Access Level of the file when information technology was uploaded
look Storage.remove('img.png'); 6. File Access Levels in AWS
There are 3 File Admission Levels namely: public, protected, private. The default level is public for case when uploading a file using Storage.get('video.mp4') unless configured otherwise as follows:
Storage.configure({ level: 'private' }); Co-ordinate to the official documentation:
-
Public: Accessible by all users of your app. Files are stored under the
public/path in your S3 bucket. -
Protected: Readable by all users, simply writable just by the creating user. Files are stored under
protected/{user_identity_id}/where theuser_identity_idcorresponds to the unique Amazon Cognito Identity ID for that user. -
Individual: Only accessible for the individual user. Files are stored nether
individual/{user_identity_id}/where theuser_identity_idcorresponds to the unique Amazon Cognito Identity ID for that user.
Notation
Yous may become the post-obit error when you run your app:Error: jest-haste-map: Haste module naming collison:
To fix this issue, but delete theamplify/#electric current-cloud-backend binder and re-build the app.
Determination
In this tutorial, we take successfully been able to set up an AWS Amplify storage project in your AWS Amplify account, then we configured it on your local machine and integrated it with the React Native project. Implementation wise, we built a feature that allows the users to pick photos and videos from their photo gallery and upload it to the S3 bucket cloud. We've also learned how to remove those files from the cloud, and also, we got familiar with the various privacy levels for the AWS file cloud.
If yous desire to skip the tutorial, and jump straight into the lawmaking, you can find the Github React Native AWS S3 Bucket projection here. If yous found this helpful, delight give us a star on Github and share this article with your community / your audition.
Source: https://instamobile.io/react-native-tutorials/react-native-aws-s3/
Post a Comment for "Aws S3 Bucket Photo Upload React Js"